Getting Started
Welcome to Visual Electric! This is our getting started guide, where we’ll walk you through the basics of generating your first image, working with Canvases, and refining your ideas until they’re finished.
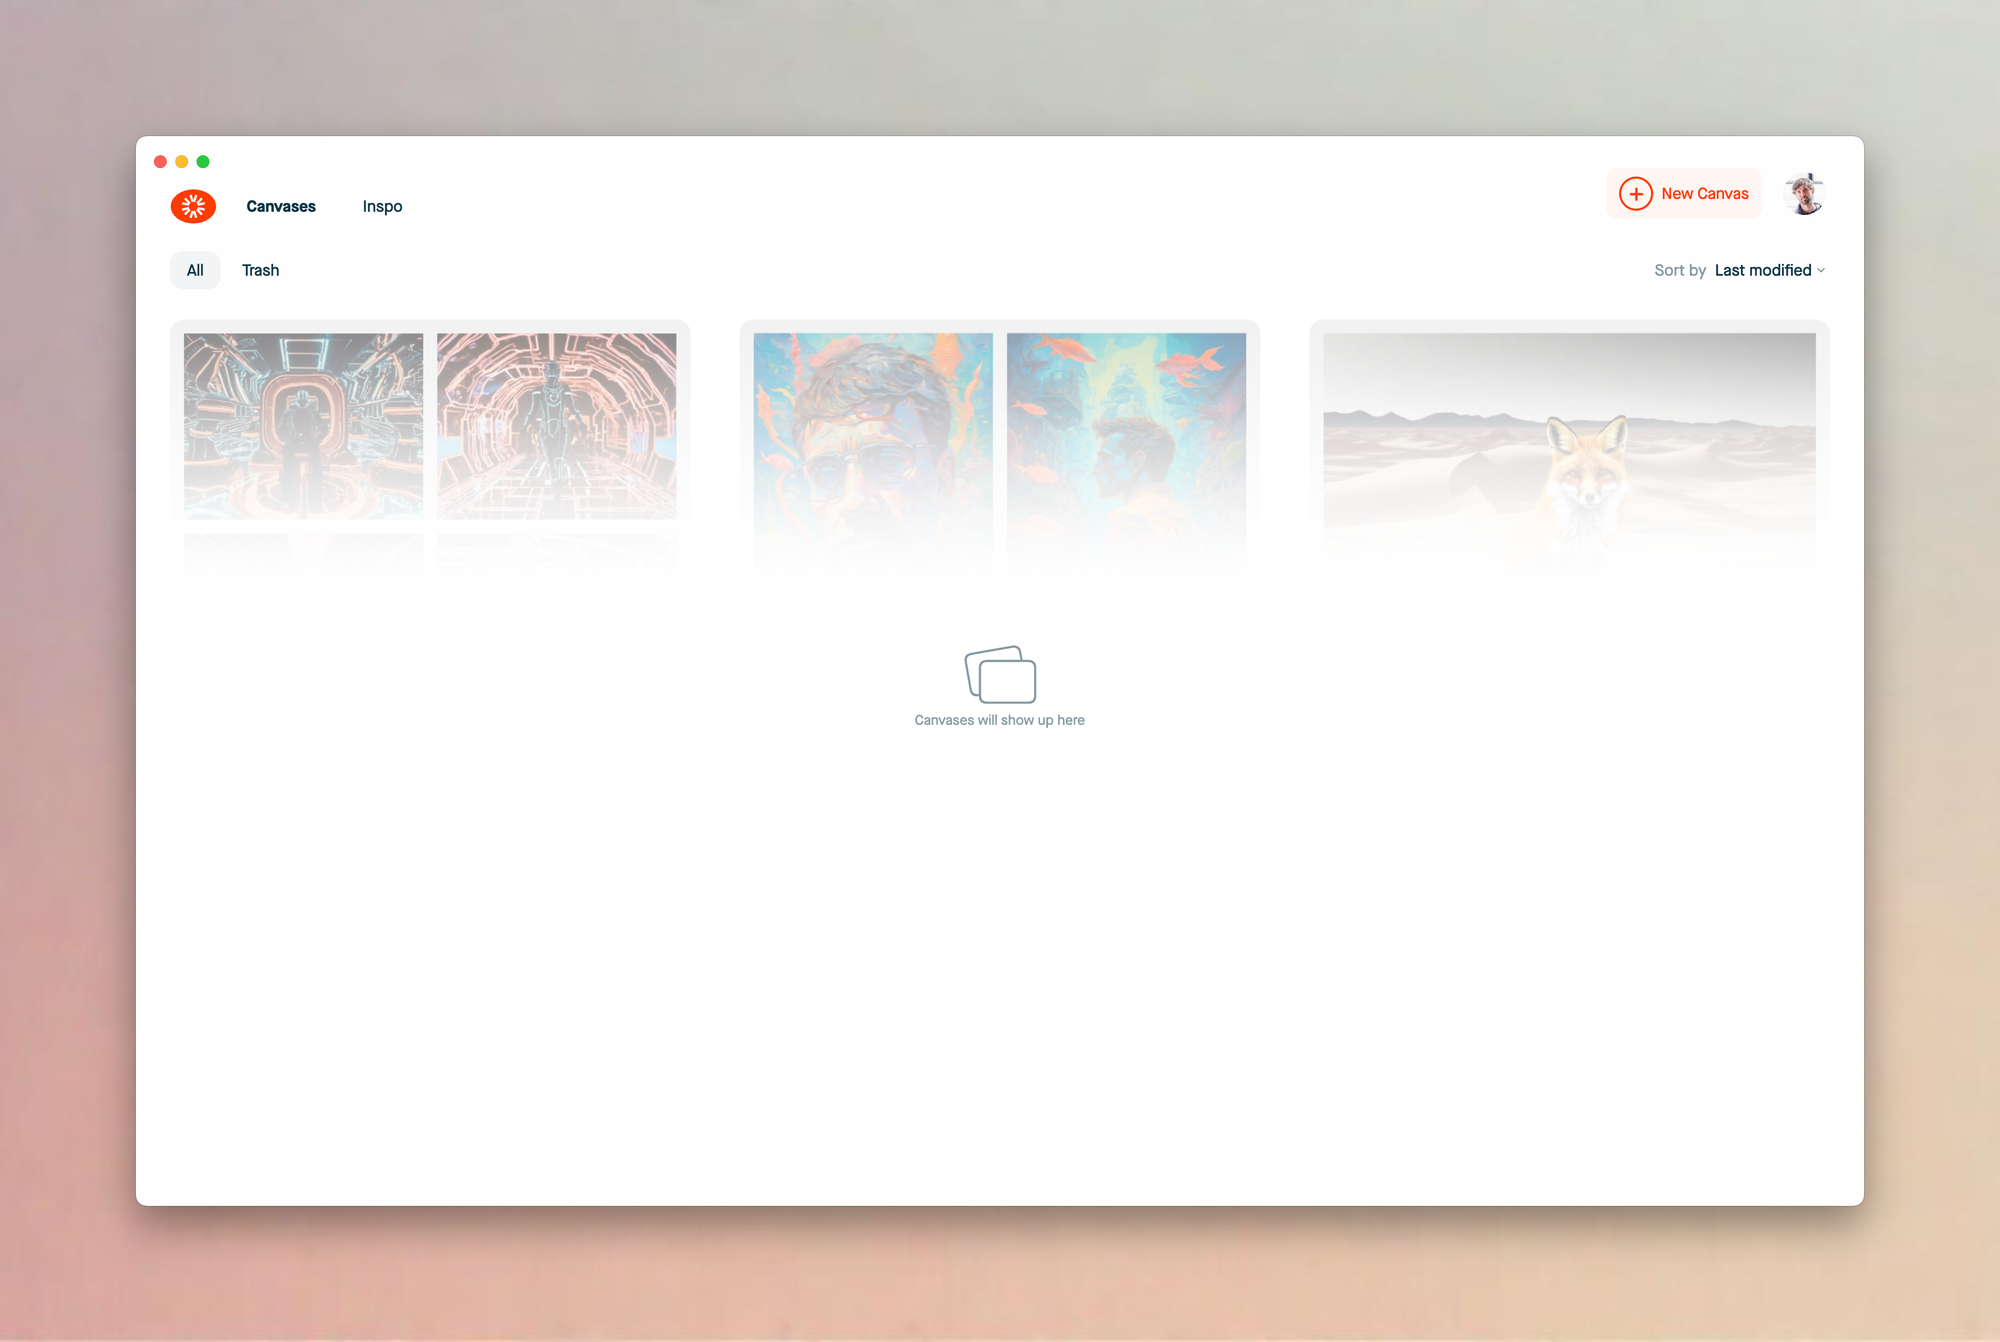
When you first open visual electric you’ll see an empty page where your documents will go.
You might be in a browser, and of course then you’ll also see your browser chrome. If you’d like to download our desktop app follow the guide here.
To start, click on the “New Canvas” button.
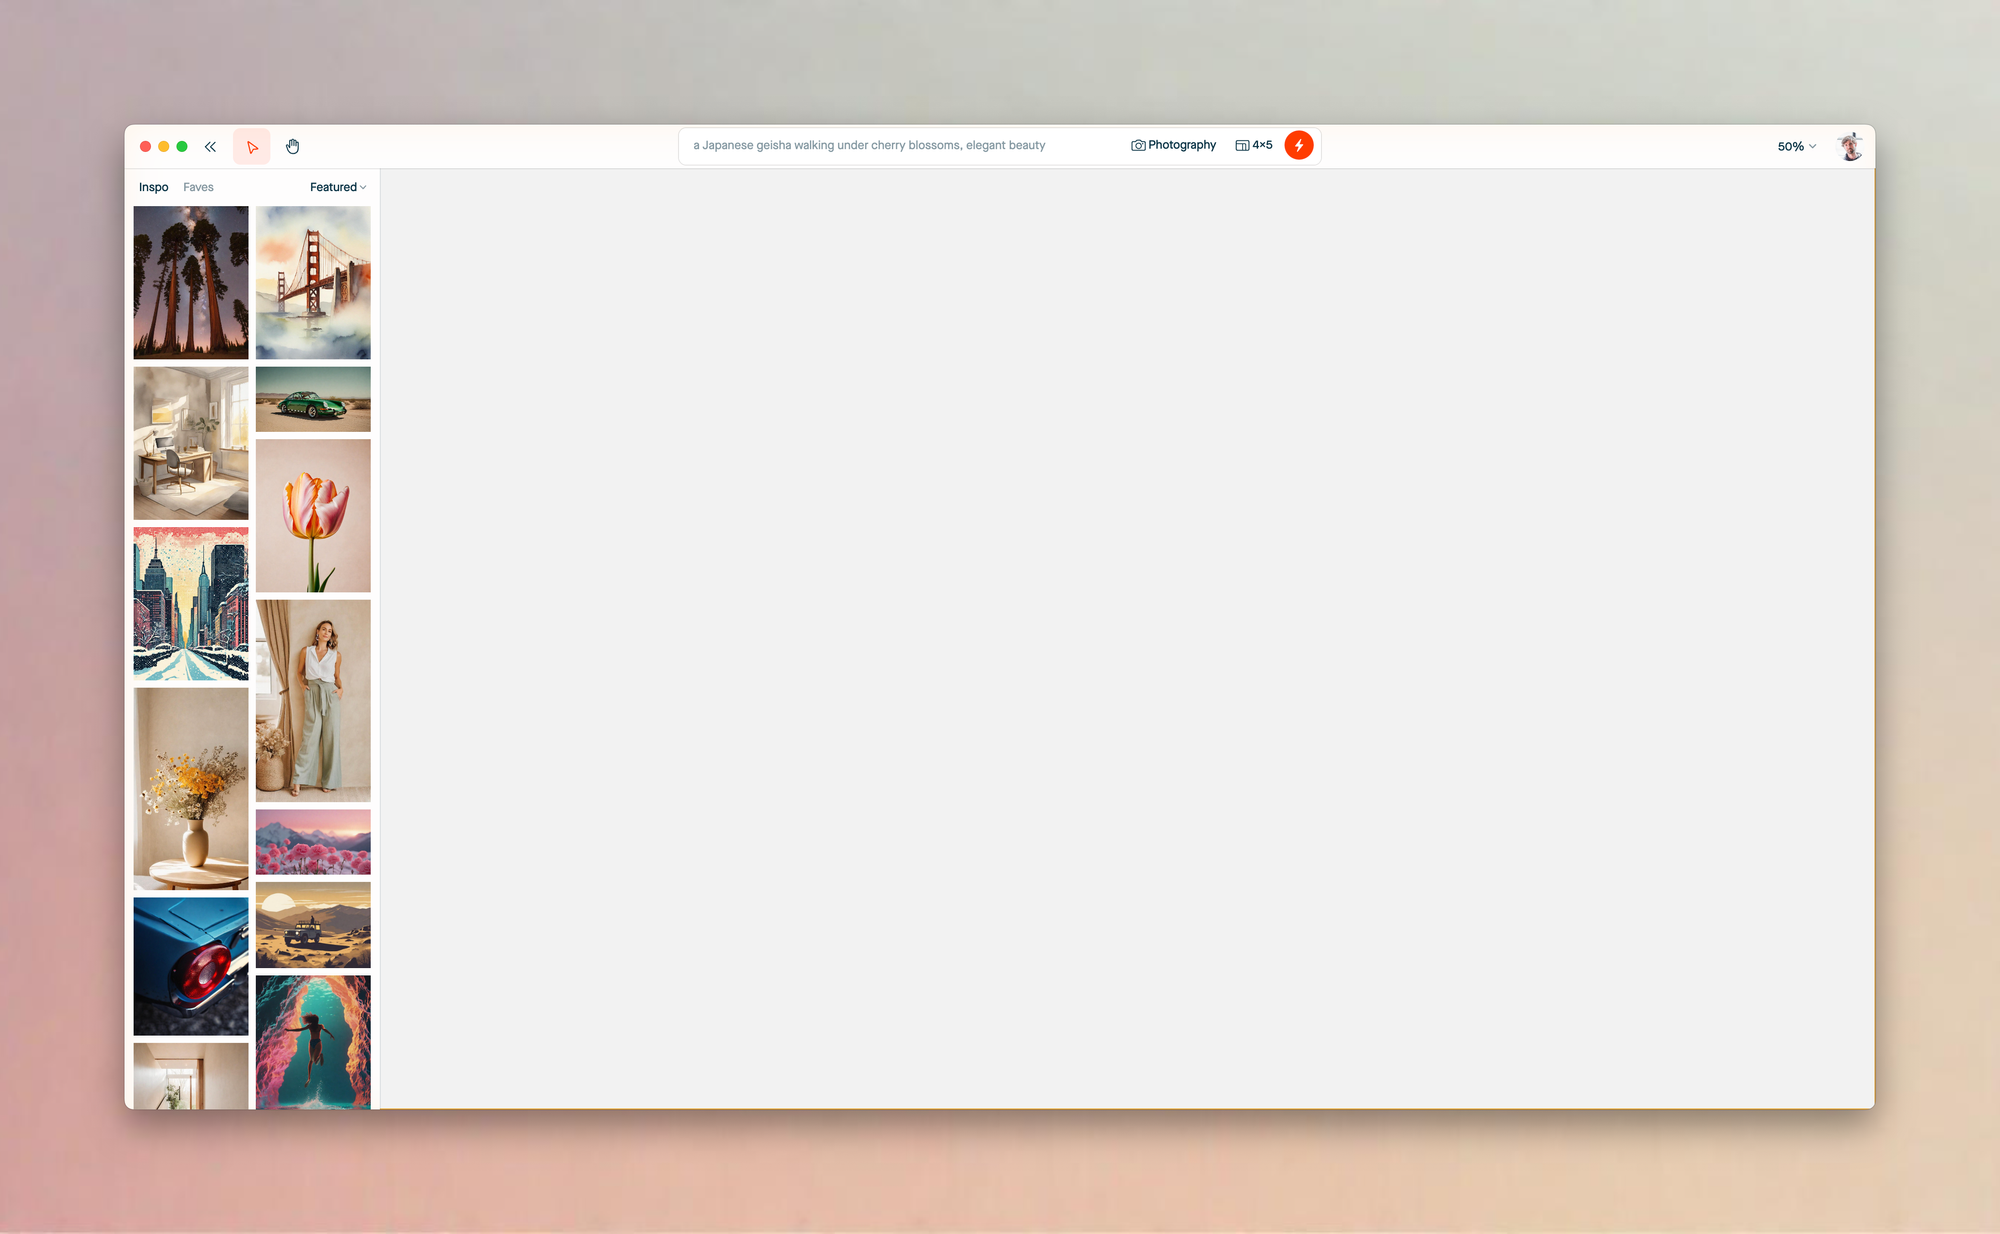
This is your canvas, it’s an infinite space for you spread out and explore your ideas. There are three main ways for you to get started generating images:
- Type a prompt into the composer at the top of the window.
- Use an image from the inspo library and remix it.
- Drag in an image from your computer and use it as a starting place.
In other sections, we’ll go over the second and third options in more detail, for now we’ll focus on the main way to create images from scratch; using the composer.
Go head and click into the text box at the top:
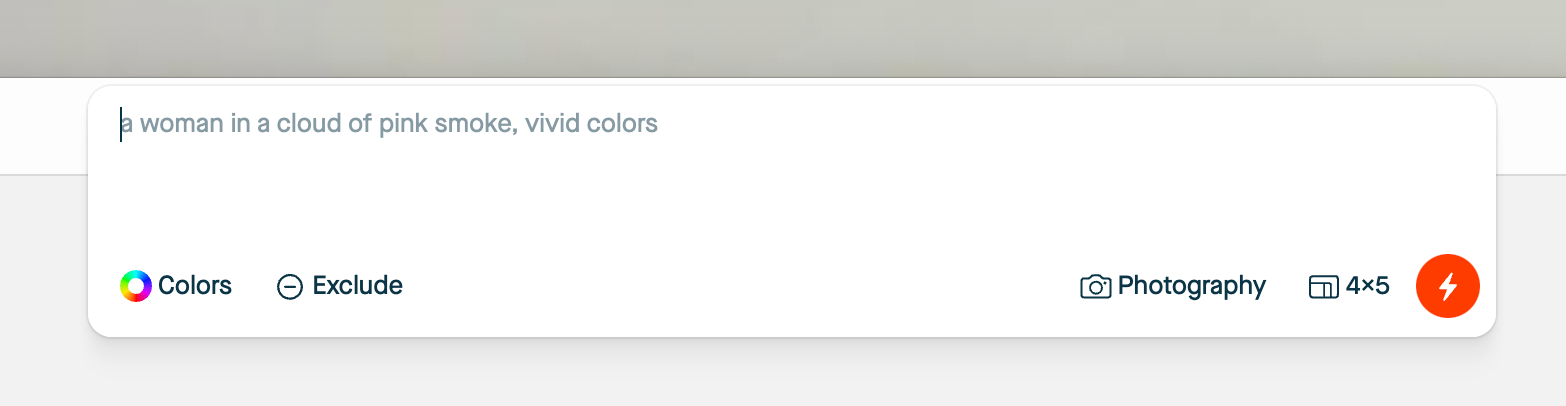
We call this our composer. Use it to control:
- The prompt
- Color pallet
- Excluded terms
- The Mood (Style)
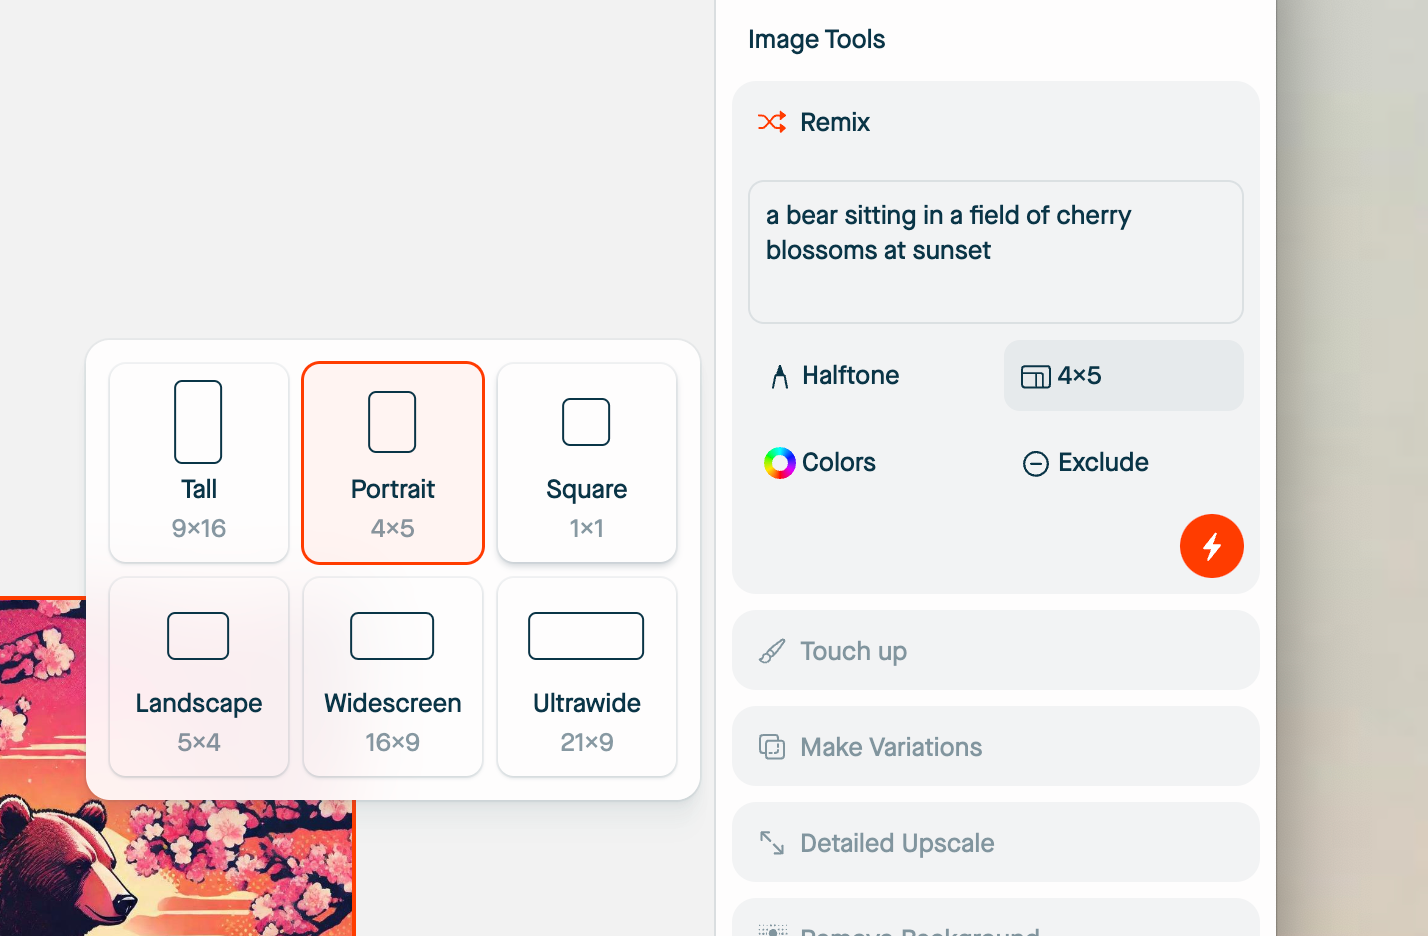
- Aspect Ratio
If you type your prompt:
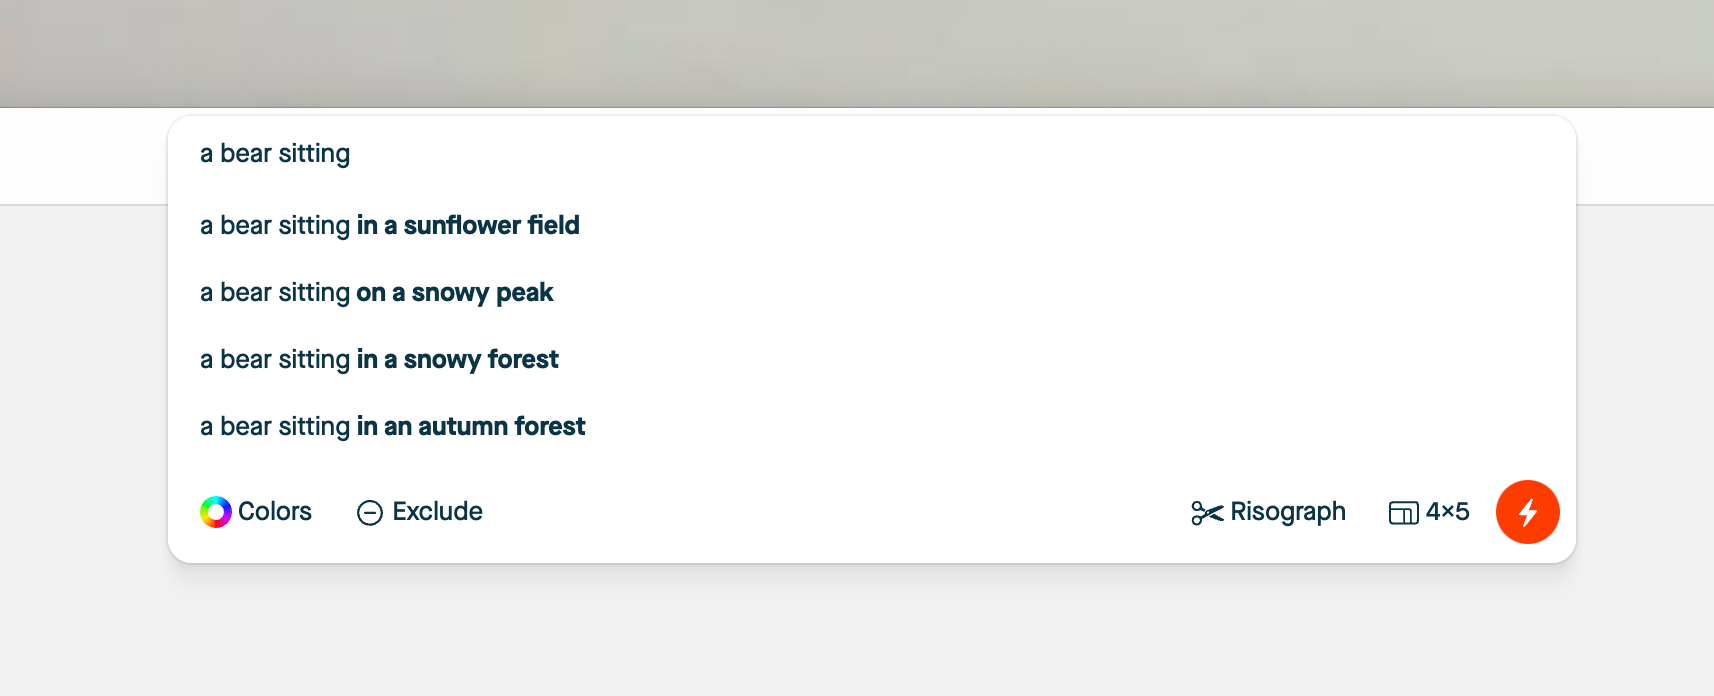
We use AI to try and help give you useful ideas. Consider this a collaboration, VE is trying to help you along the path to getting something beautiful we’re happy with, and you can always override and suggestions to carve your own path.
In my case, I used the ideas to help me get to the following prompt:

Next, let’s use the mood picker to select the right mood.

Oh the left you’ll see all the categories of moods you can select. In my case I’d love to use the halftone mood, so let’s use that and hit the generate button (insert inline image).

Here we go! By default, you images will be selected. When an image is selected you’ll see actions you can perform on it in the righthand sidebar. Let’s change the aspect ratio and see how we like the results.
Let’s try using widescreen and then generate:
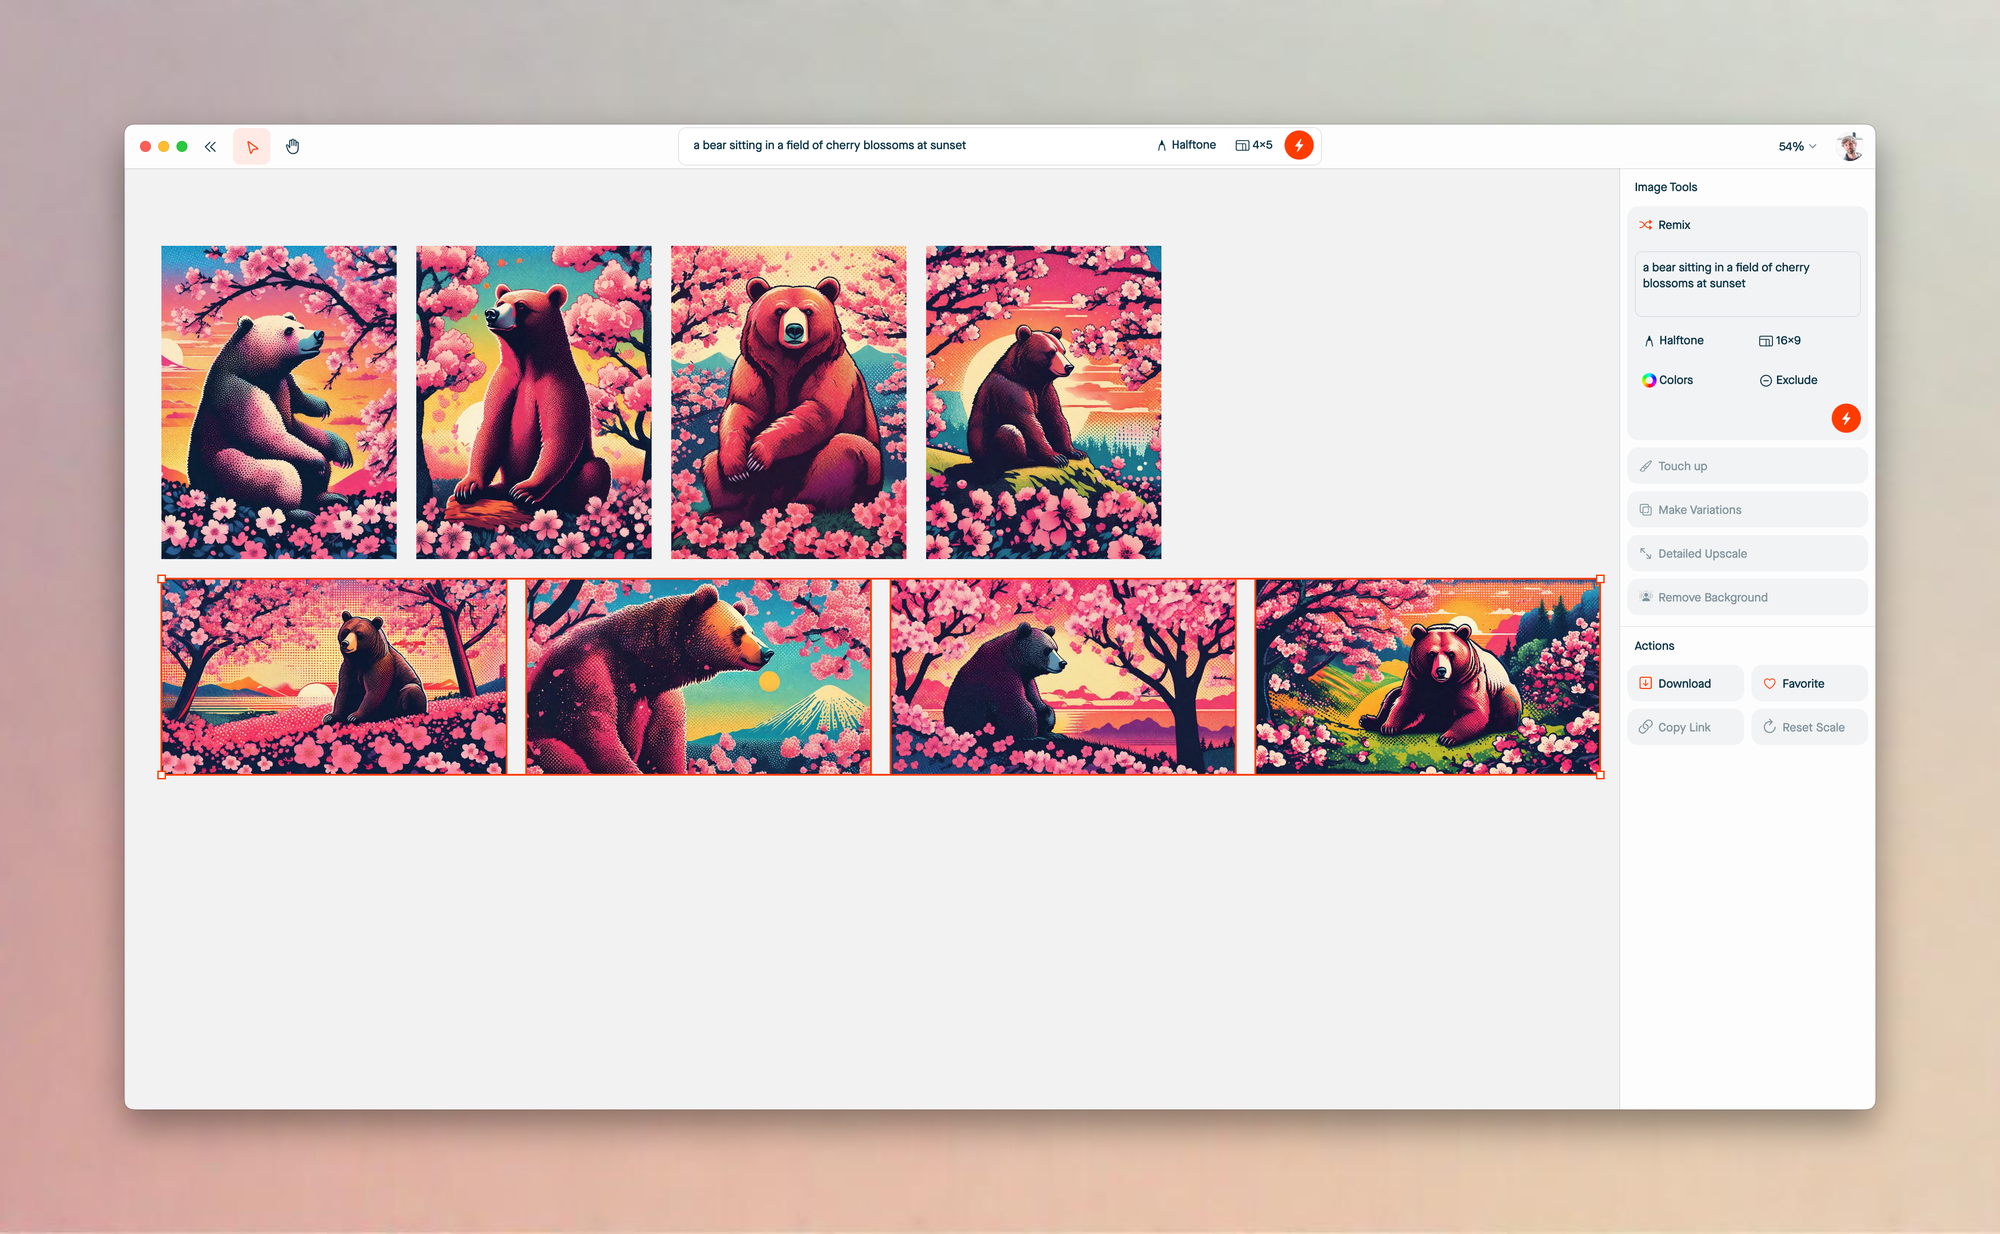
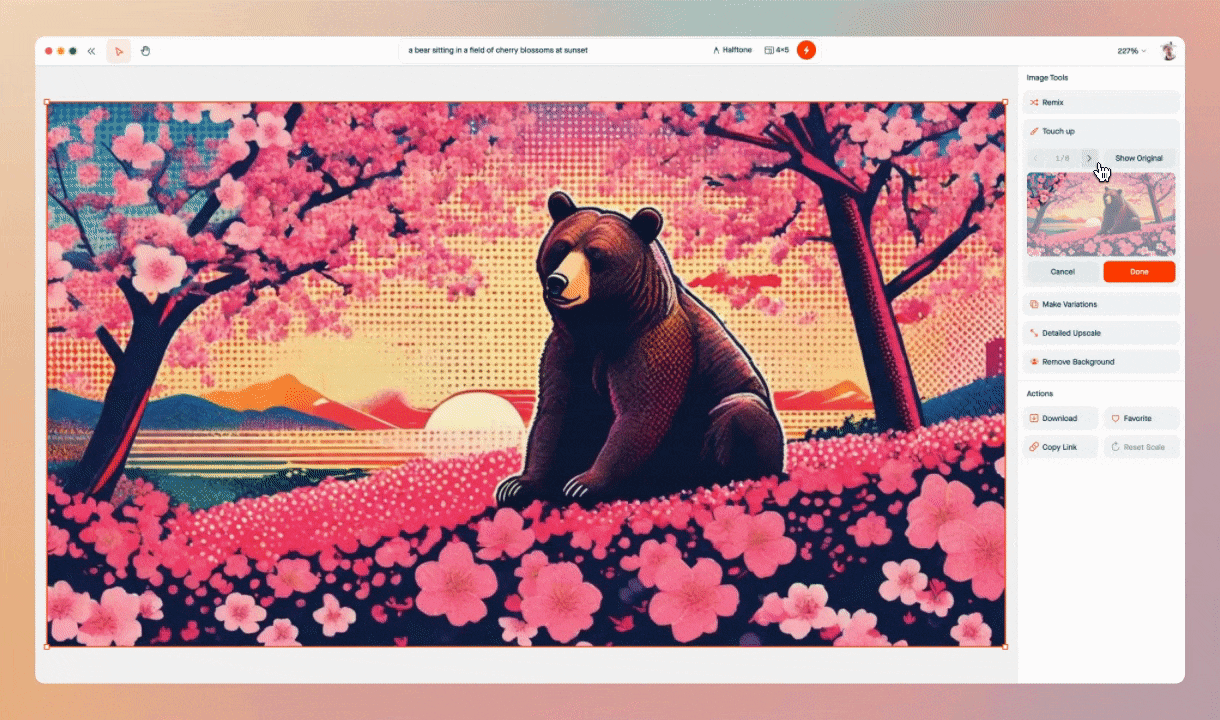
I’m pretty into the first image generated with widescreen, it’s looking good. The only thing I don’t like it the spot of blue sky in the top left corner, so let’s change that. Click on the image and then in the sidebar tap Touch Up — this’ll bring up a s
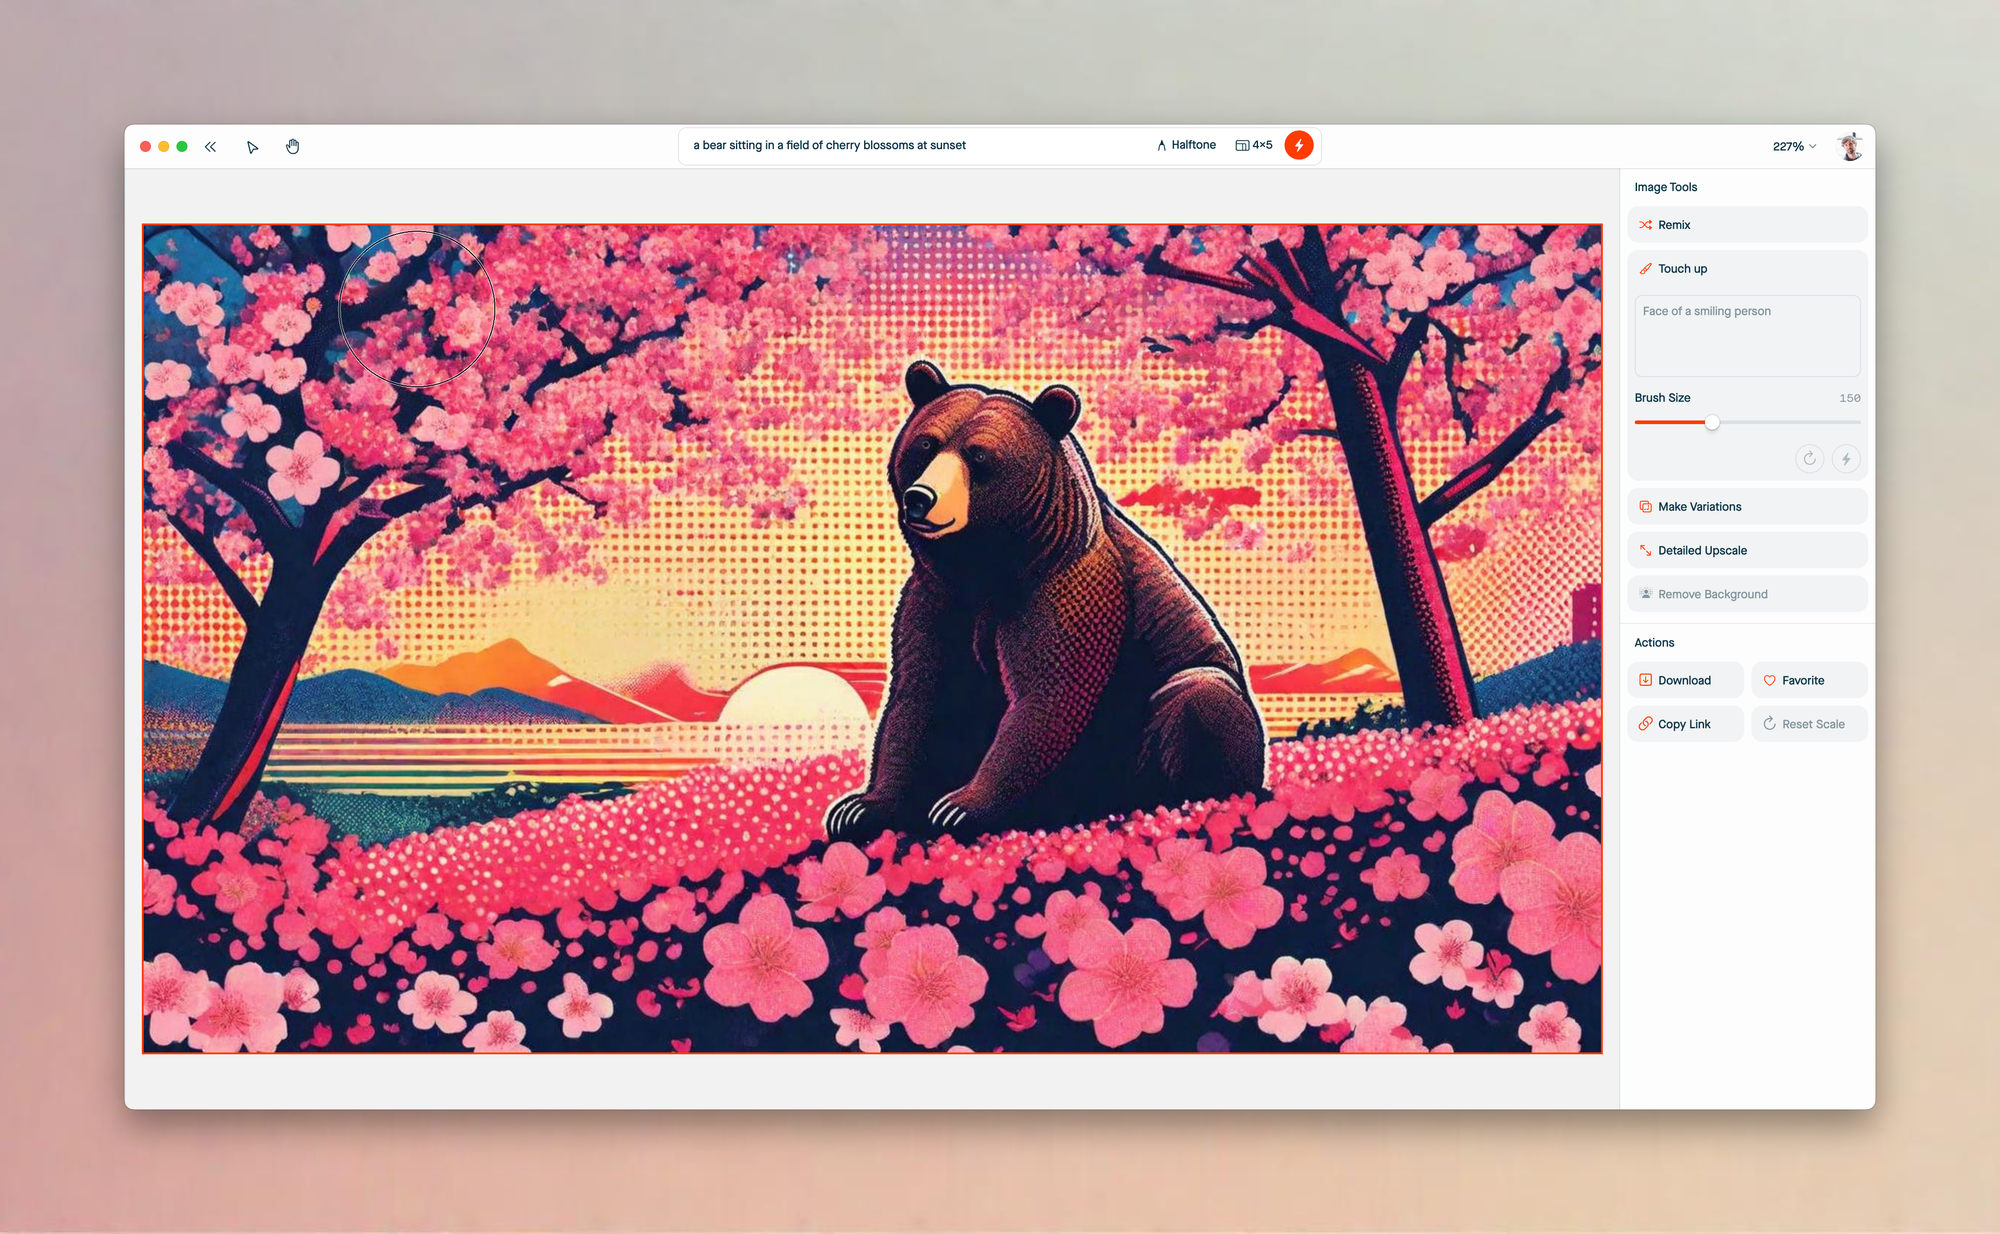
Now paint over the top left corner so we can change it:
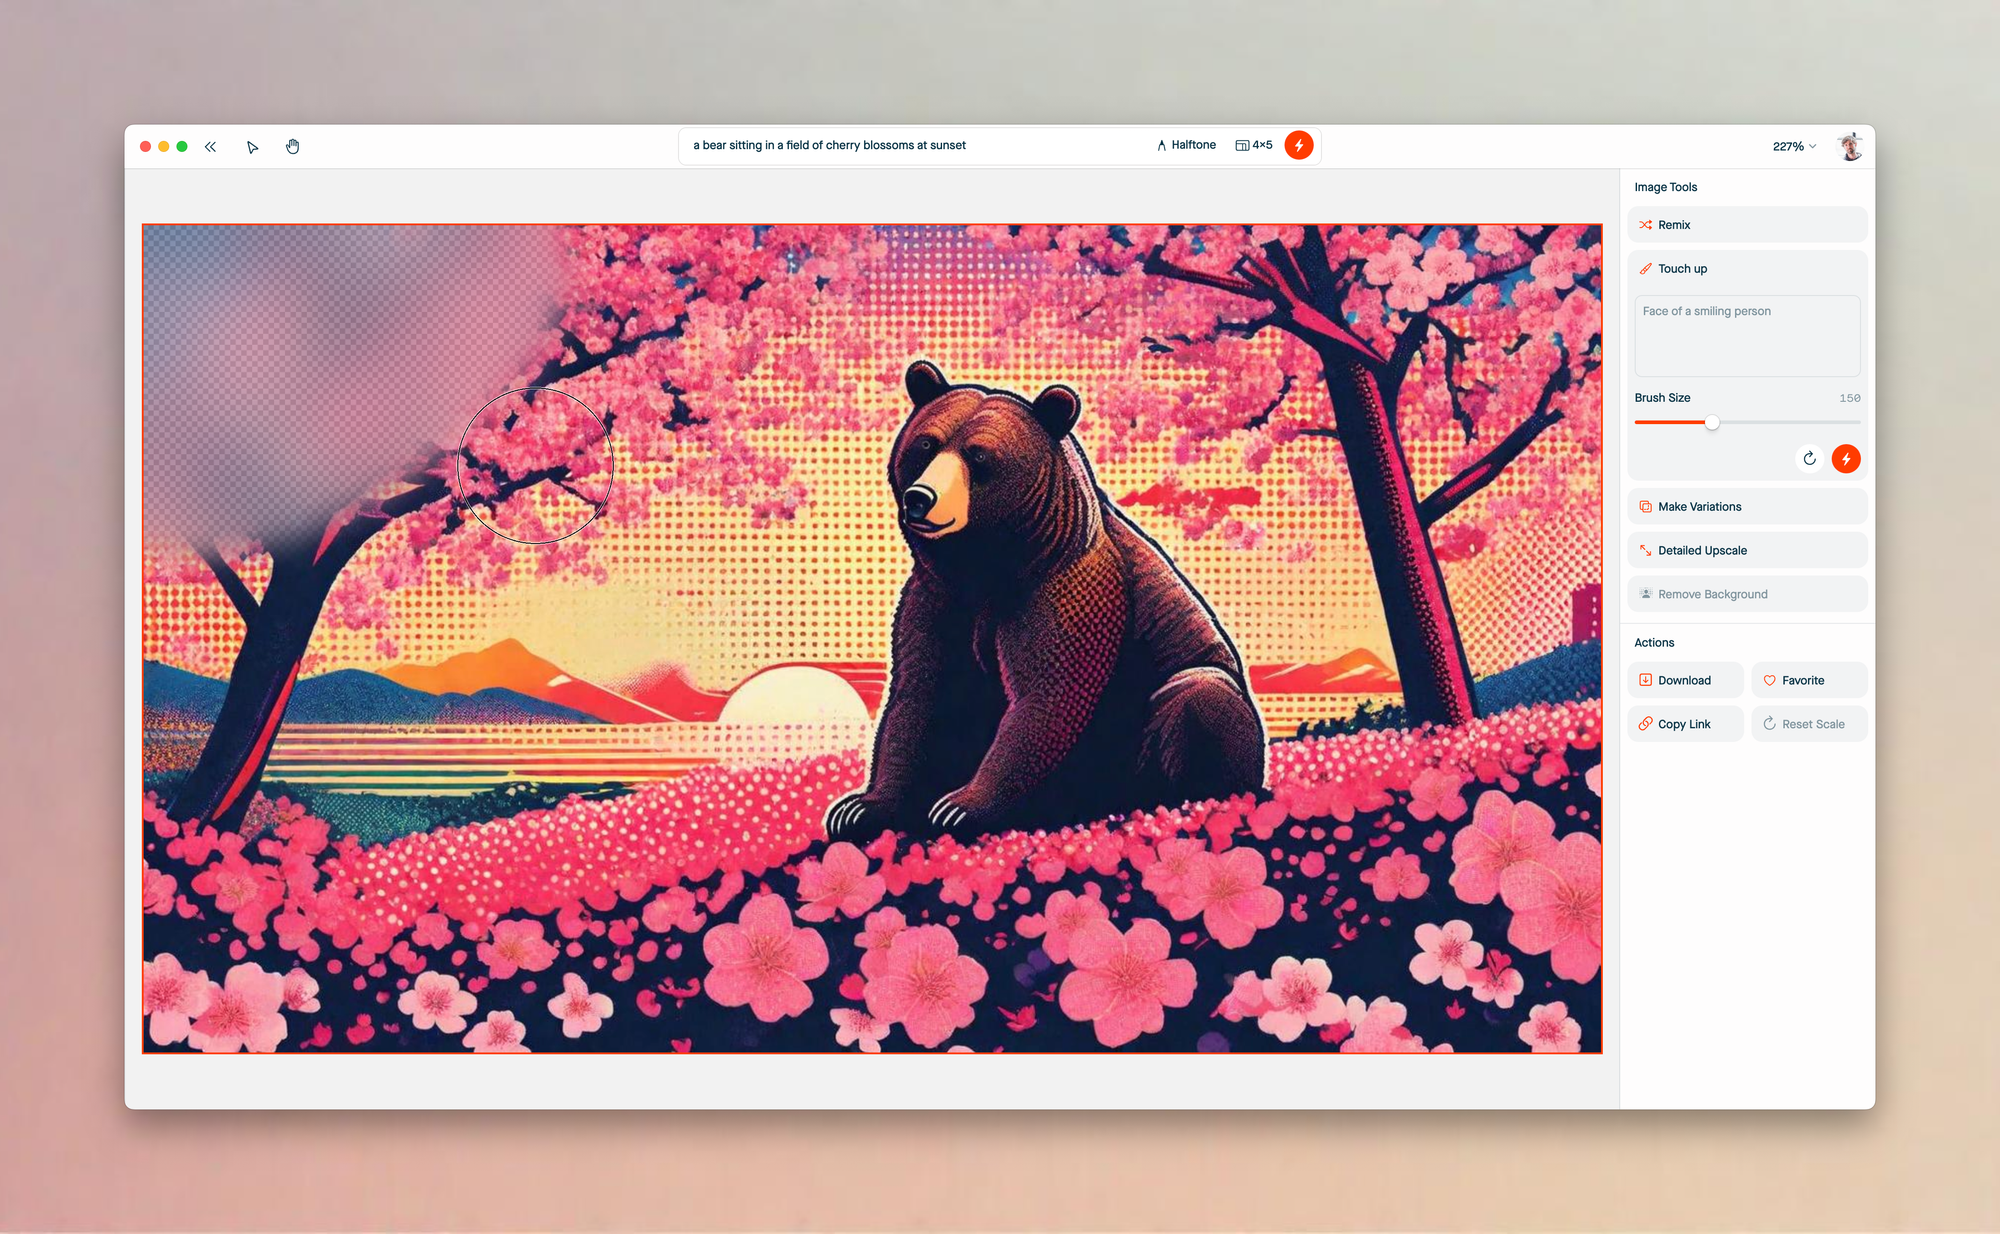
You can use the prompt box to be specific with what you’d like to add to the image, but for now let’s leave it blank and hit generate. Once you do that you’ll be able to cycle through the options and find the one you like the most:
Okay! This image is looking pretty good. Let’s upscale it by hitting the tool in our righthand sidebar.
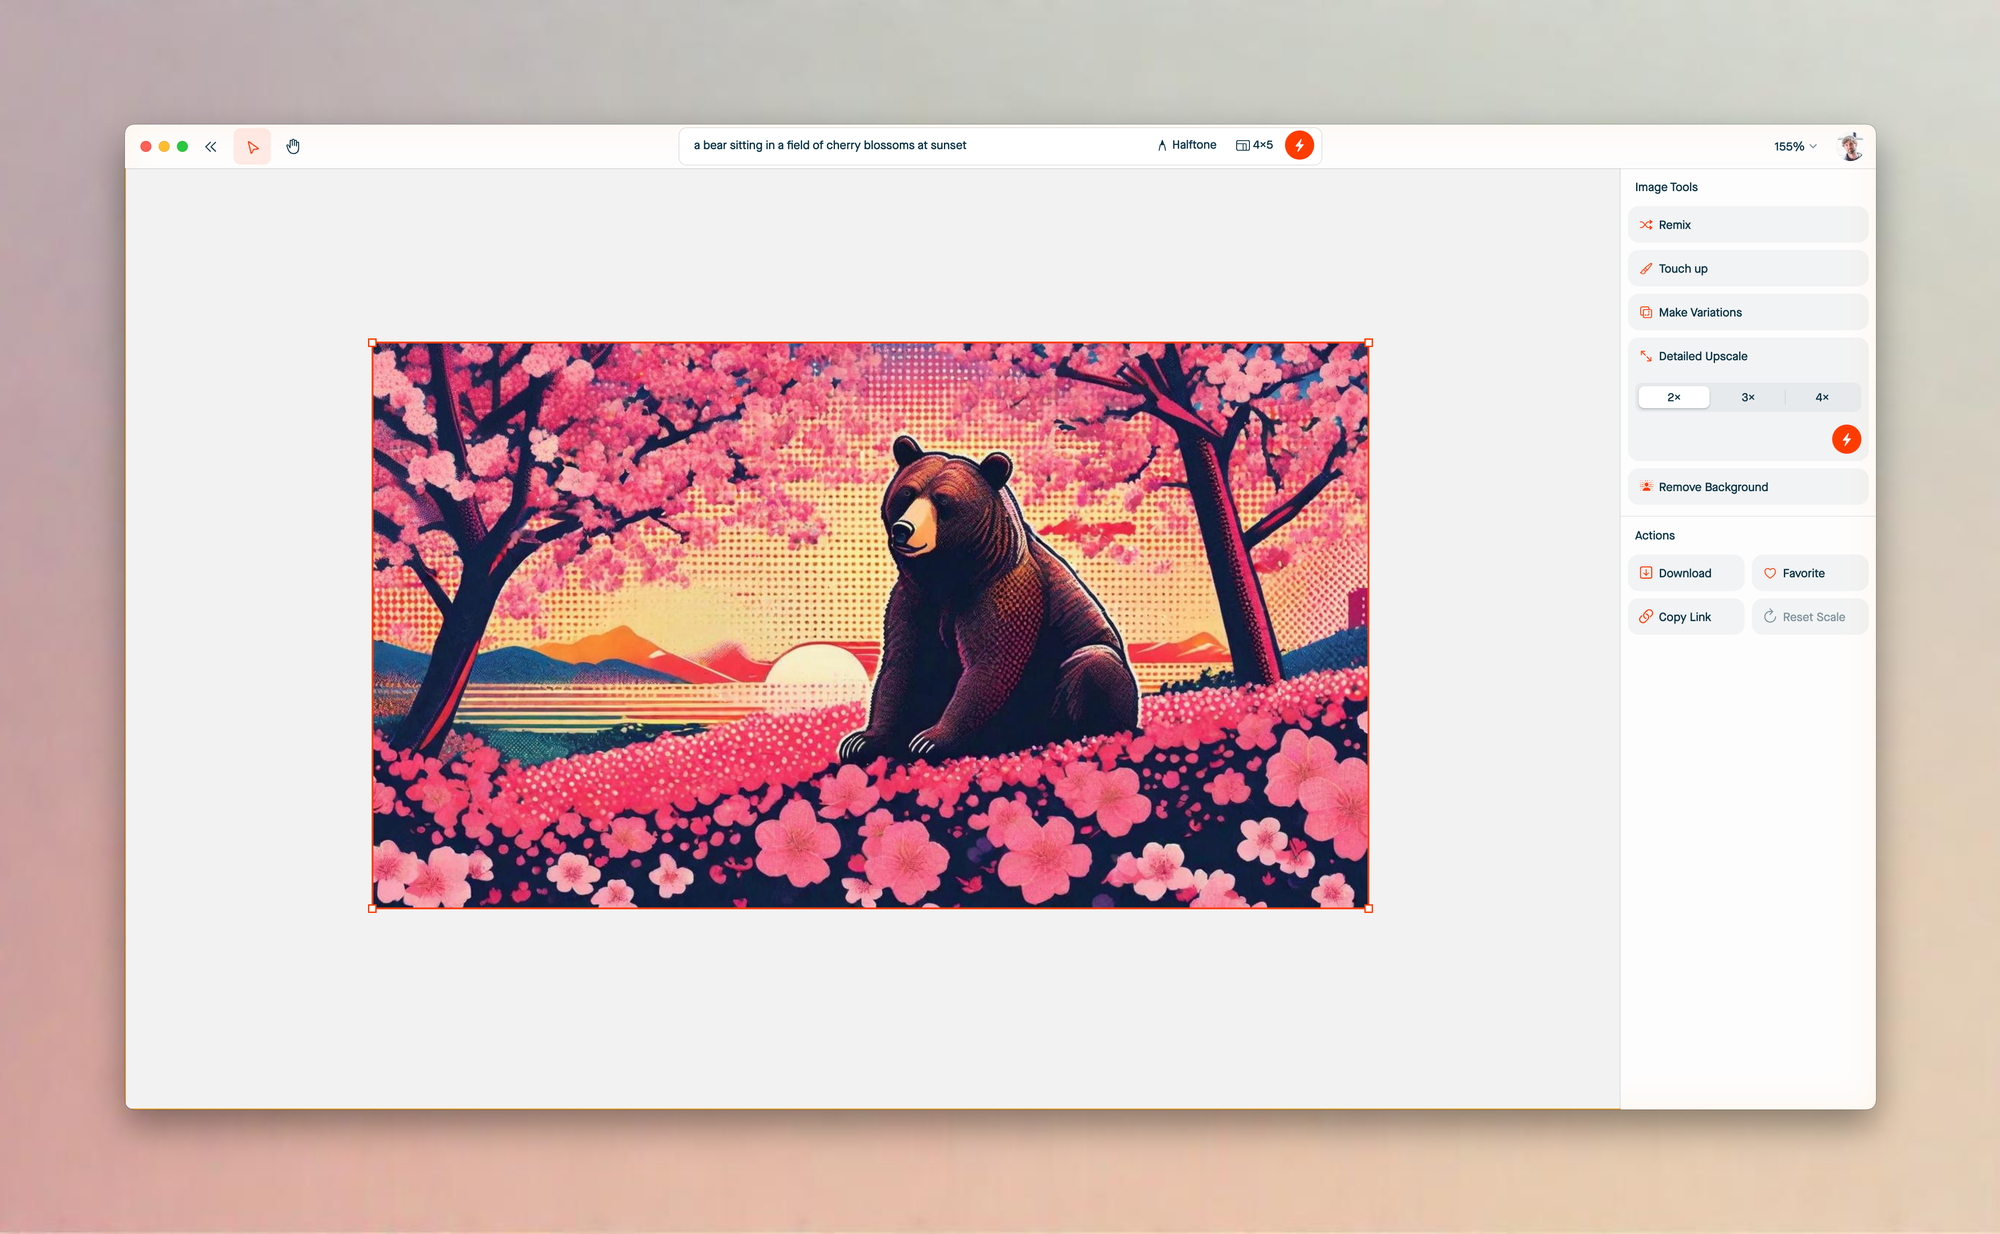
We can select how much we’d like to upscale our image. There’s a couple details to note here and you can read more about for upscale works in our over here. For now, let’s select 2x and hit generate.
This should take a little bit, as the machine is working hard to produce the highest quality image for your final asset.
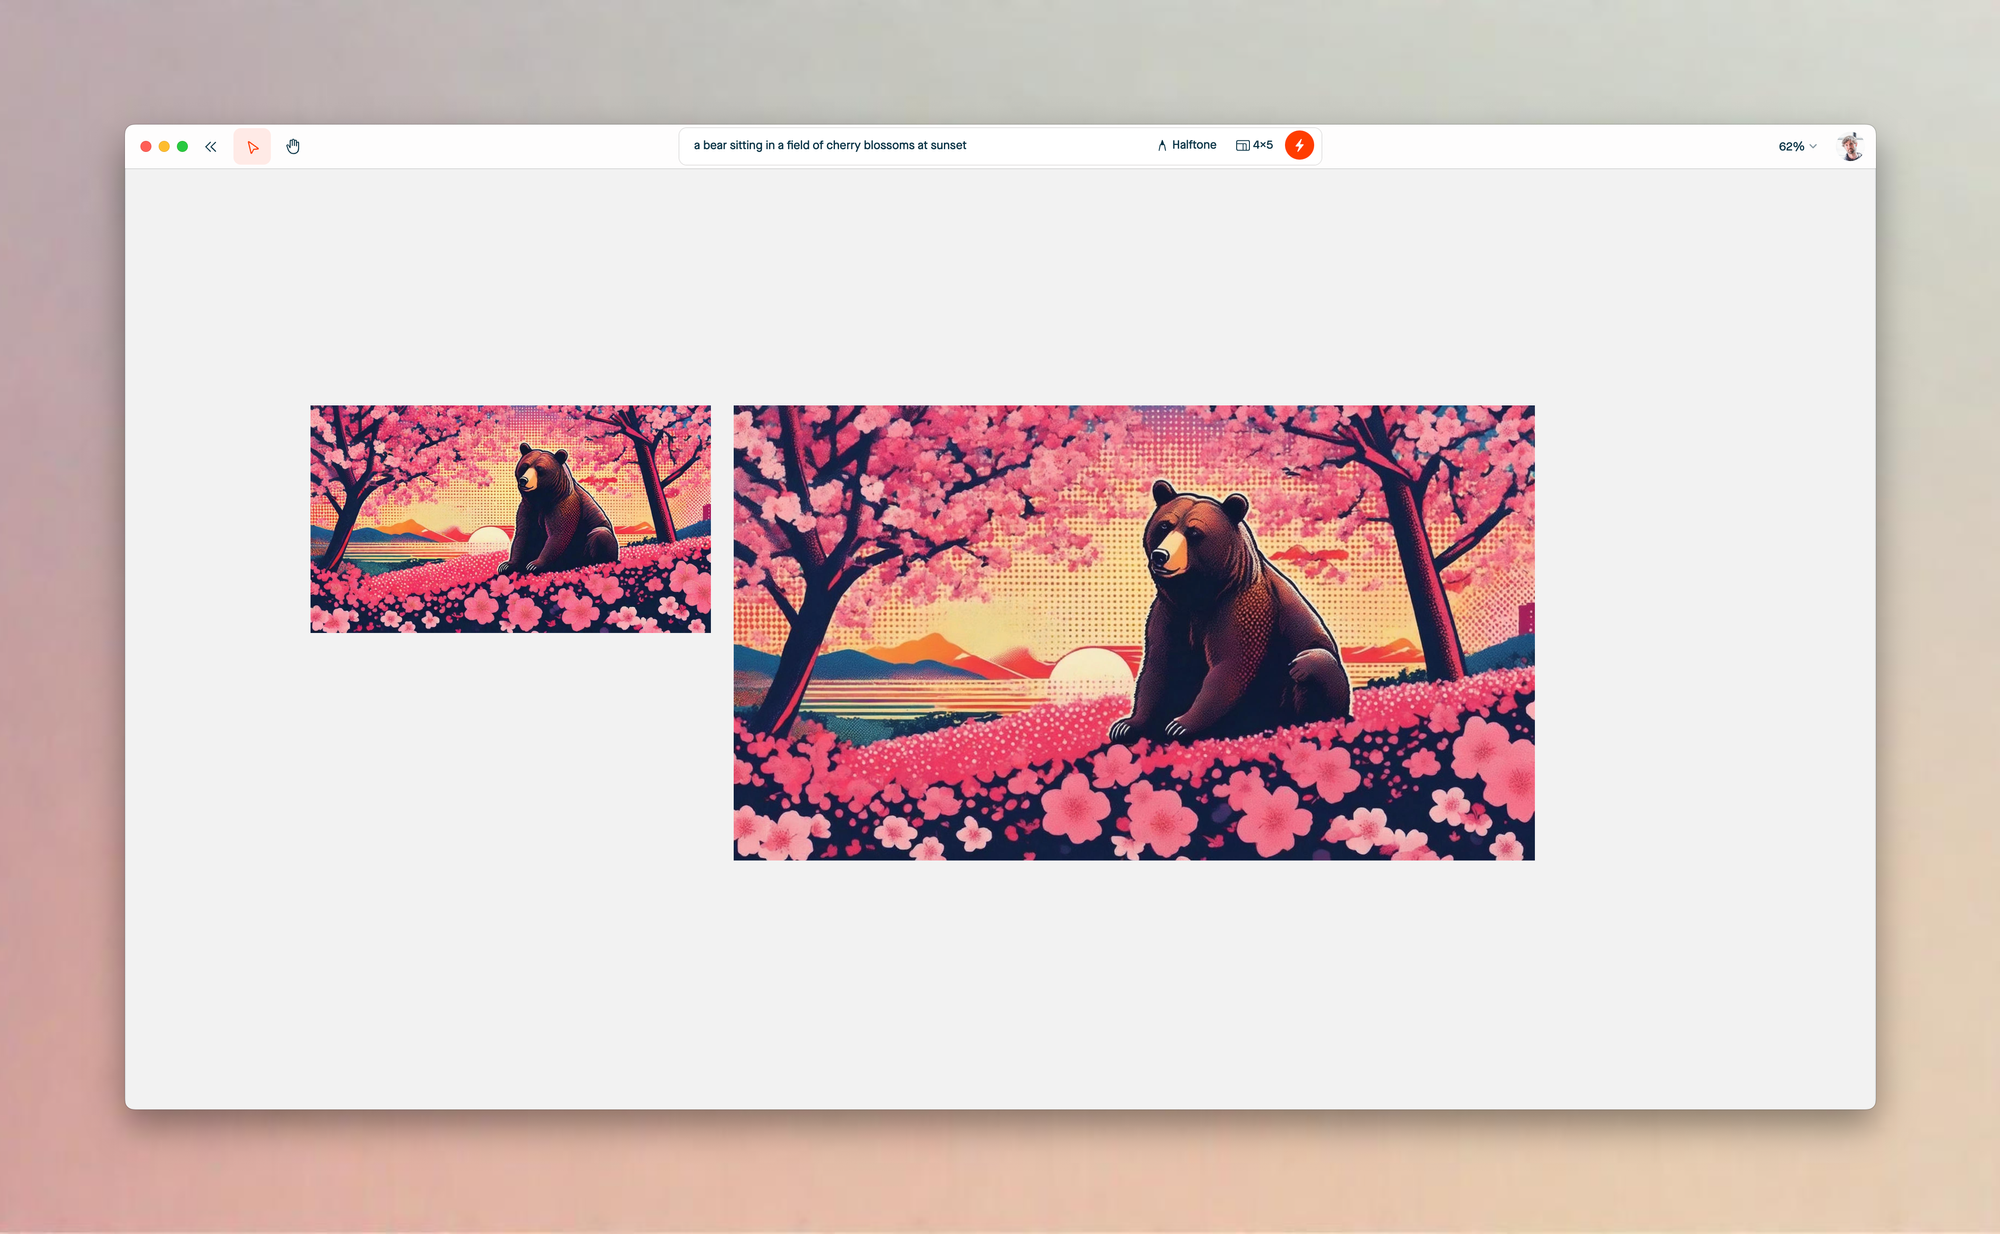
And here to go! I’m happy with the result so I’ll click the image and hit download in the bottom part of the sidebar. I can also click Copy Link to share a link to the image with coworkers or friends.
And that’s it! You should have the basics down and have enough knowledge to get started. To learn how to create even better images and refine your ideas further, check out the rest of our learning center or message us directly by clicking Give Feedback in your account menu.
Have fun!
